The Creation
of Mhondoro
Jan Sweeney walks you through all fifteen stages of creating a bronze sculpture — from the first origination model through to the finished, named piece.
Nedbank Million Dollar Golf Challenge · 1999
"I was approached by Alistair Roper of Sun International to show him some of my work with a view to me doing the trophies for the Nedbank Million Dollar Golf Tournament. I sat up late at night working on three lionesses — one landing, one running and one taking off. I caught the plane from Harare to Jo'burg with my three lions in my suitcase — only to be told that he wanted a male lion. So I caught the plane back and started again."
Origination
The origination model is approved and Jan sets about making Mhondoro.
Silicon Rubber Mould
A two piece mould and plaster jacket is made. Quality of the mould results in little or no rework on the wax models.
Making the Wax Model
Wax is melted and poured into the mould, rolled and tipped out — three times — to make a hollow wax model.
Attaching Sprues & Removal of Patch
Sprues are attached — thicker rods feed the bronze, thin ones allow gases to escape. A side patch is removed so slurry can coat inside and outside.
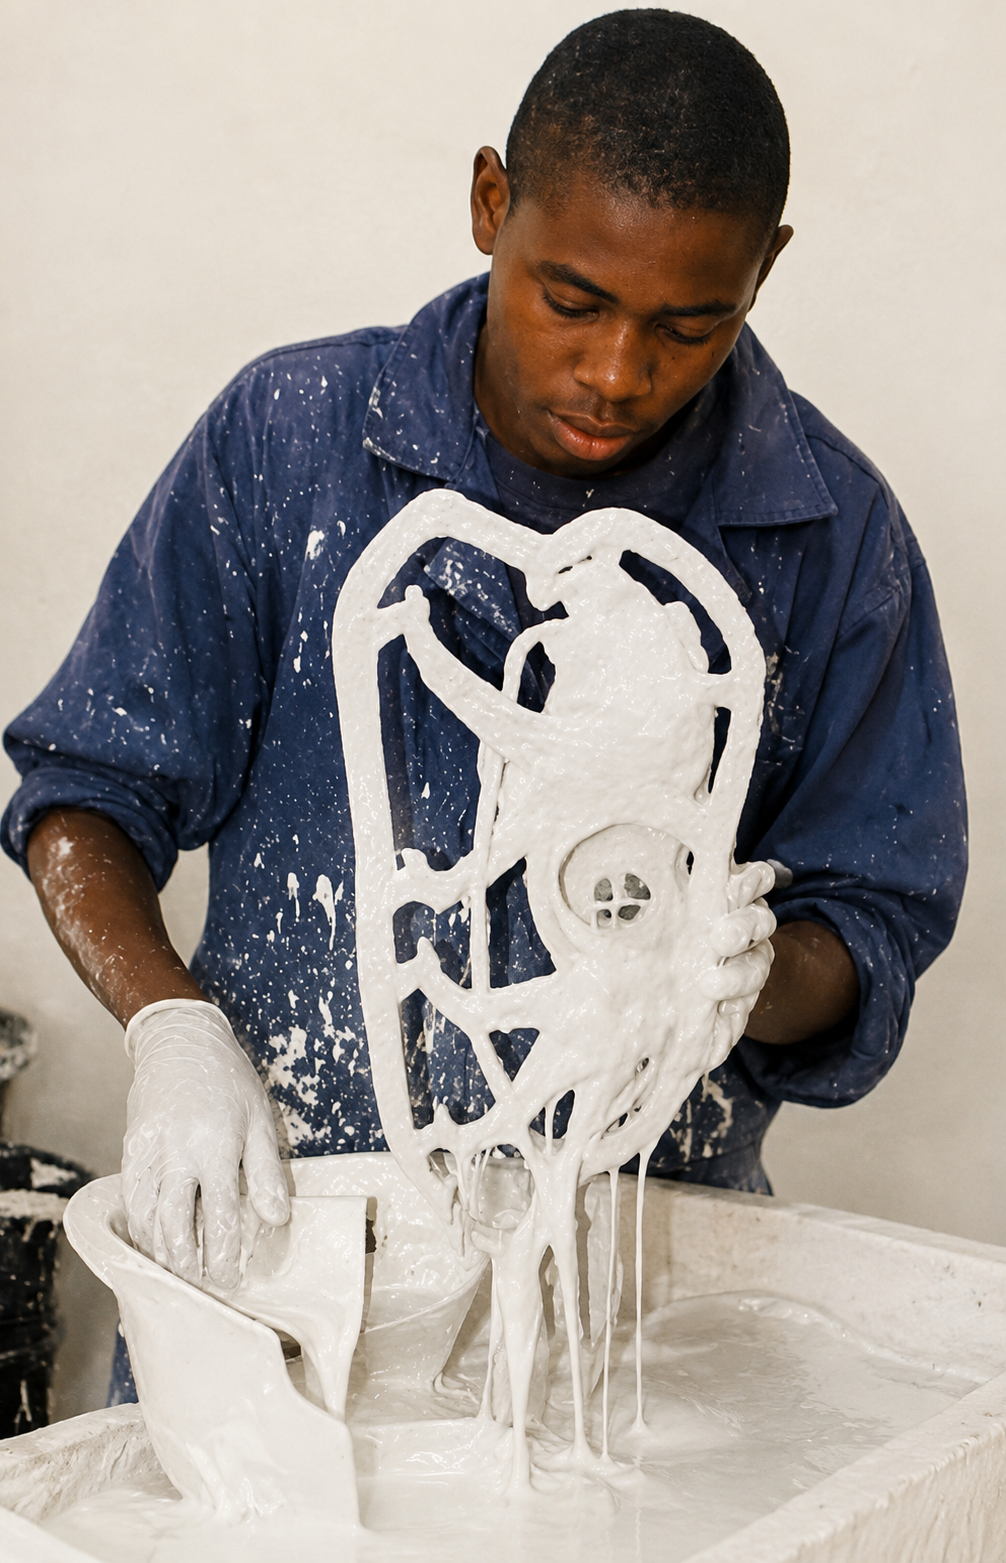
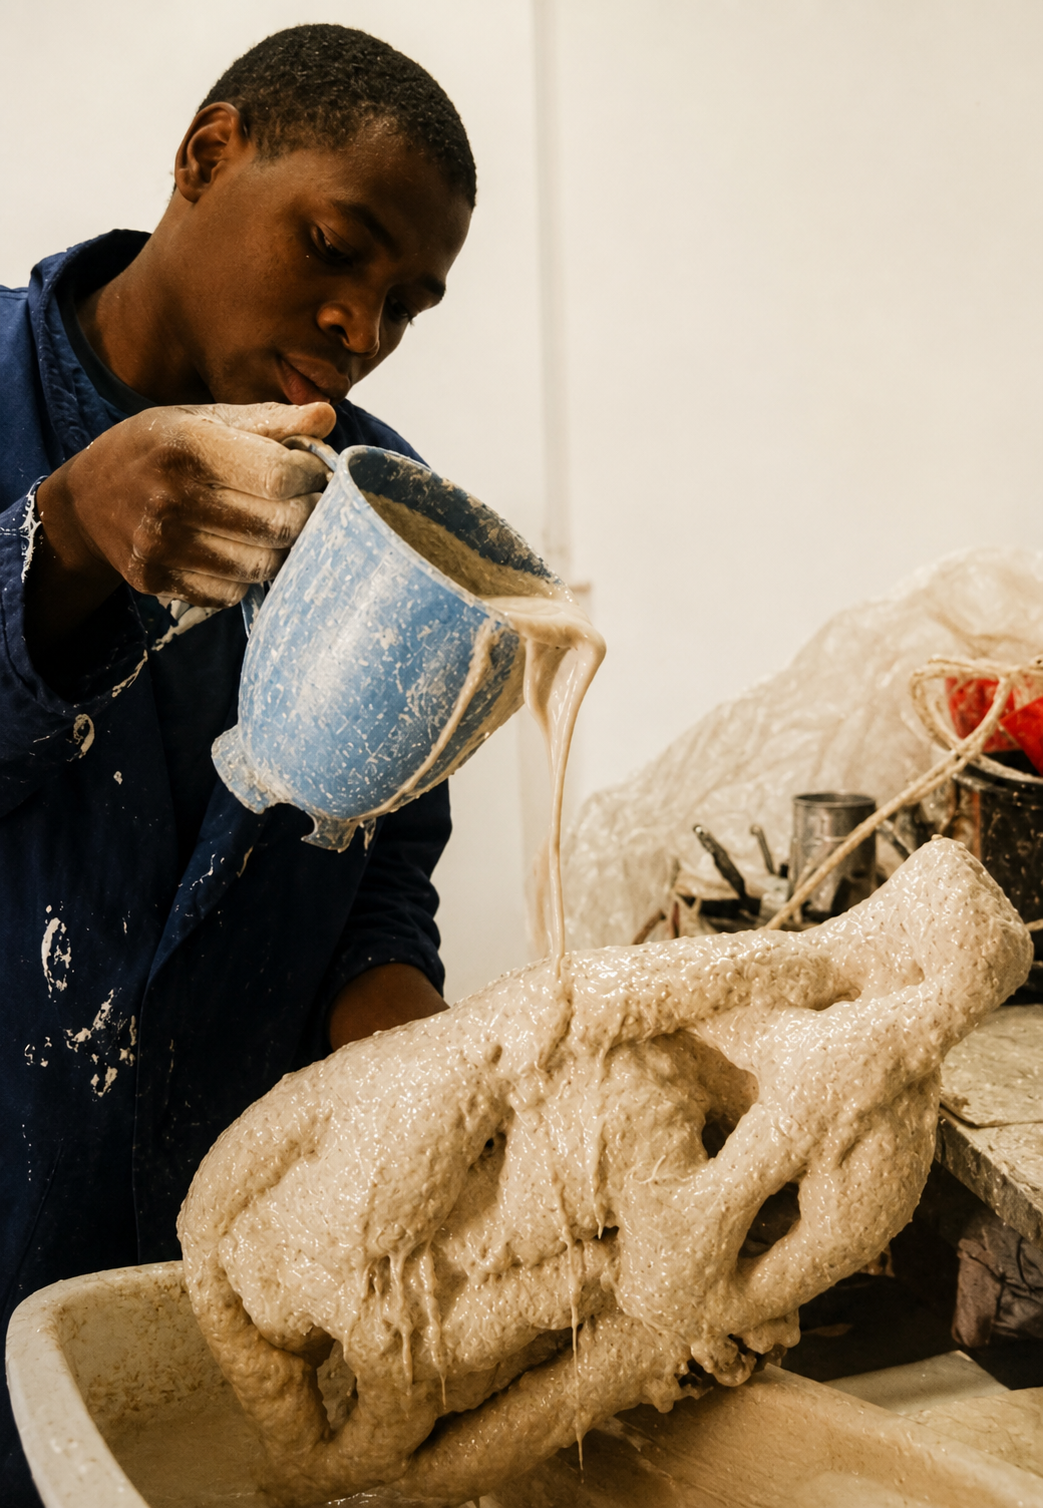
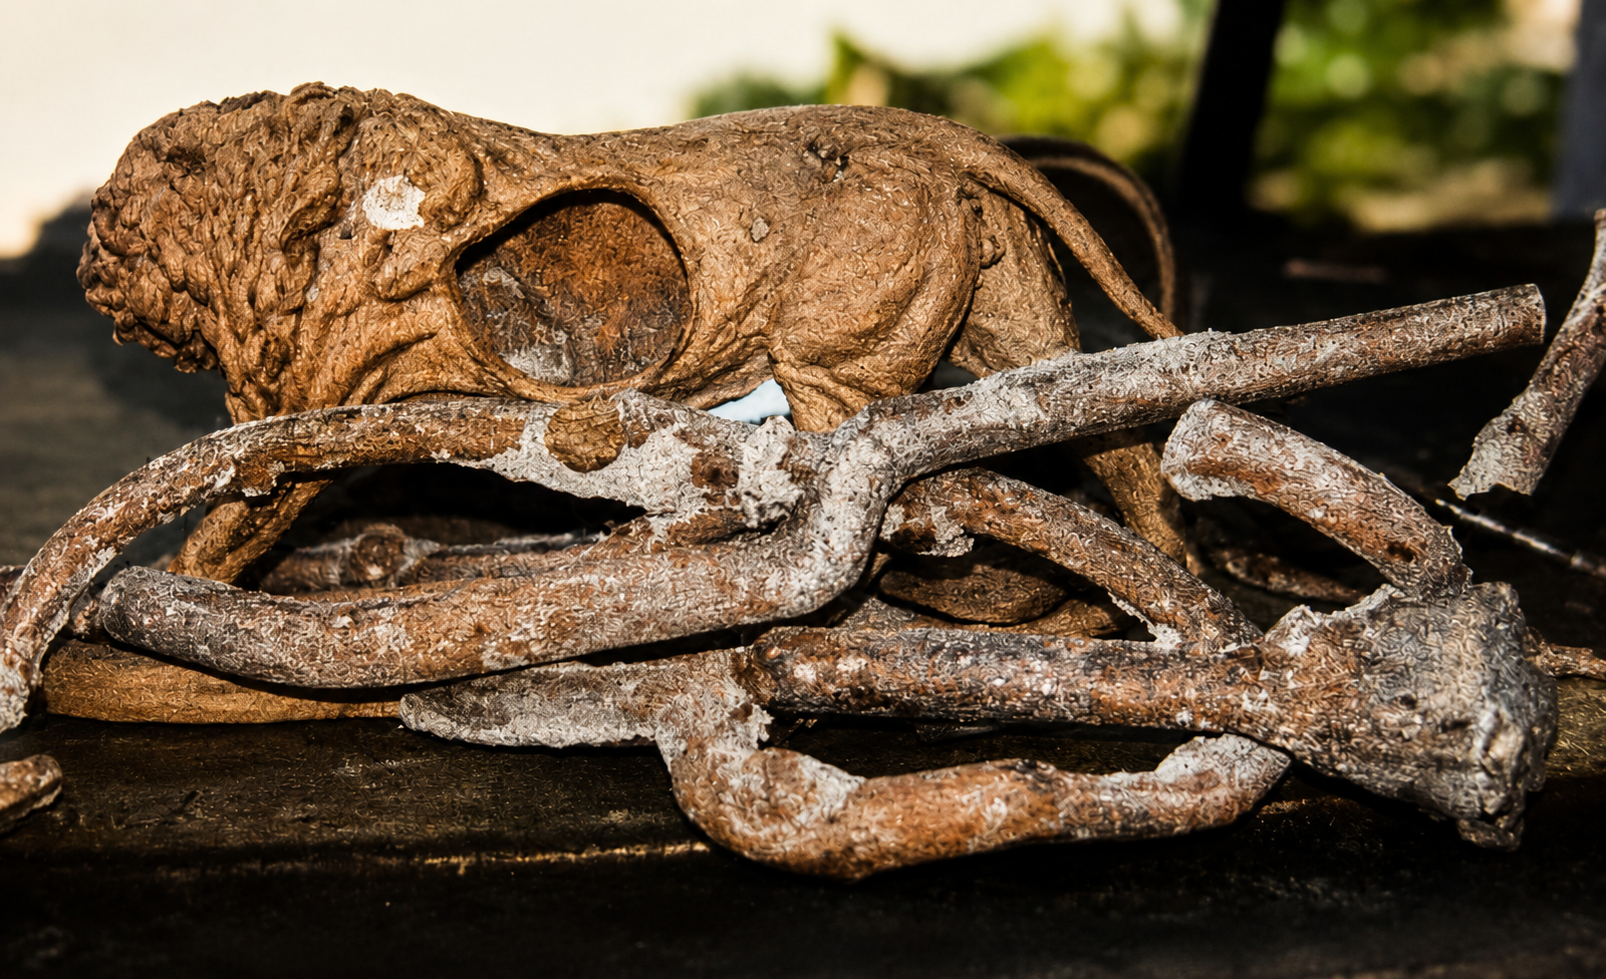
Making the Ceramic Mould
The model is dipped into colloidal silica slurry and sprinkled with silica sand.
Ceramic Mould with Wax Inside
Nine coats later produce a ceramic shell sufficiently thick to withhold the molten bronze.
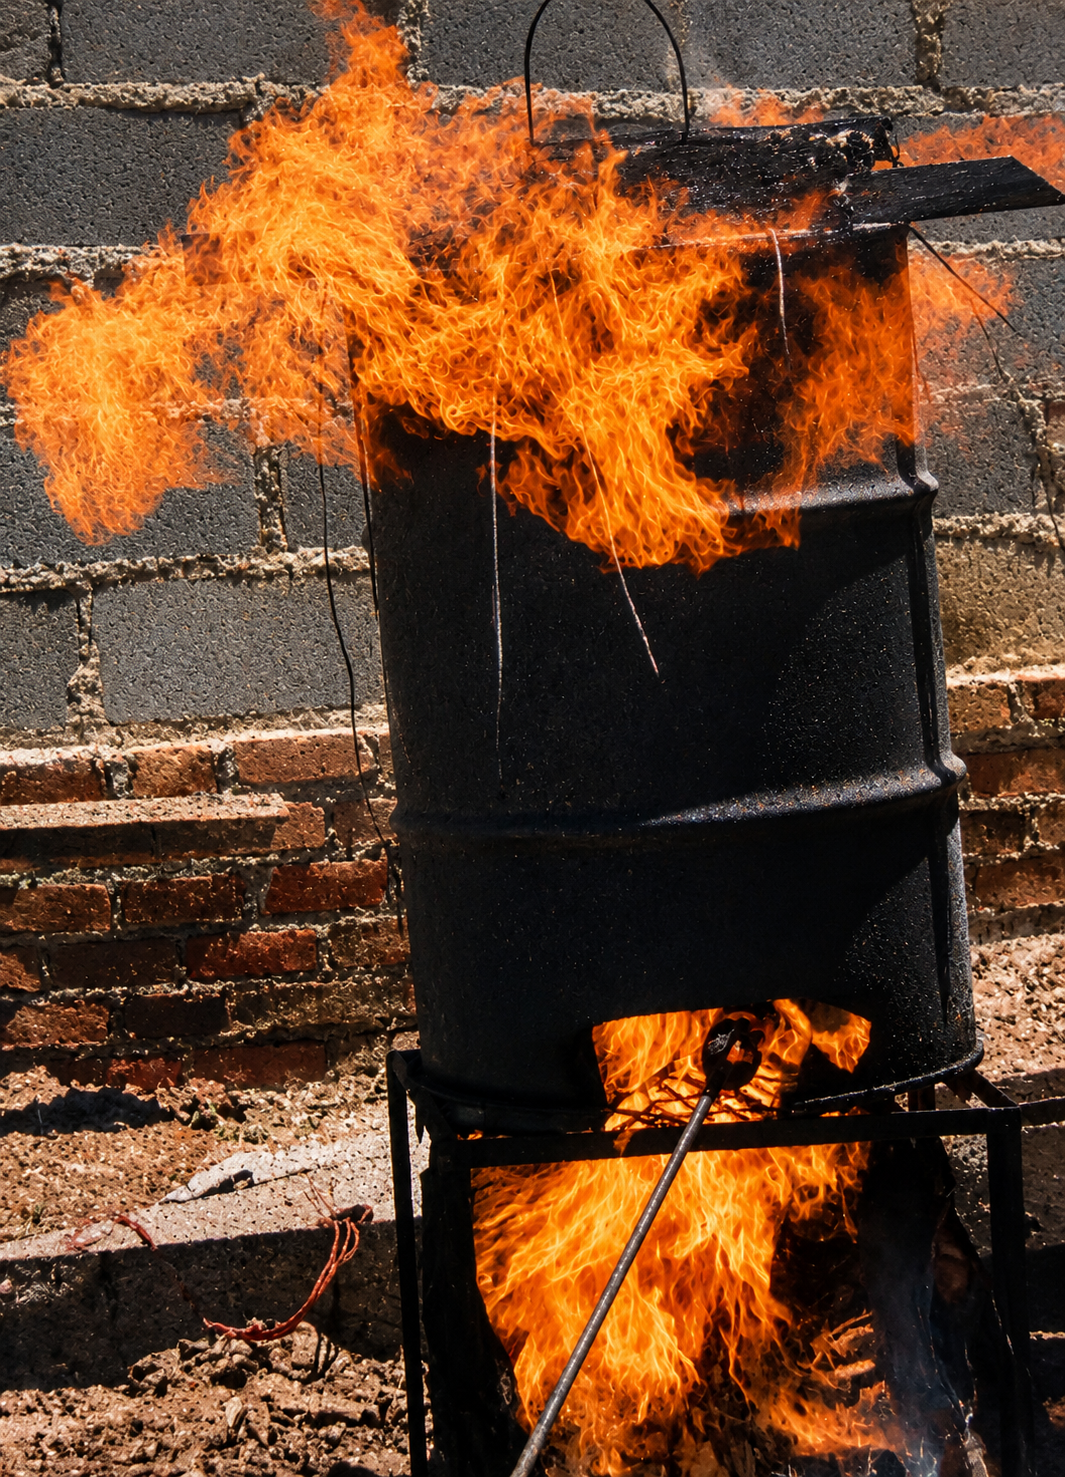 Step 7 · Burning Out of the Wax · The process must be hot and quick

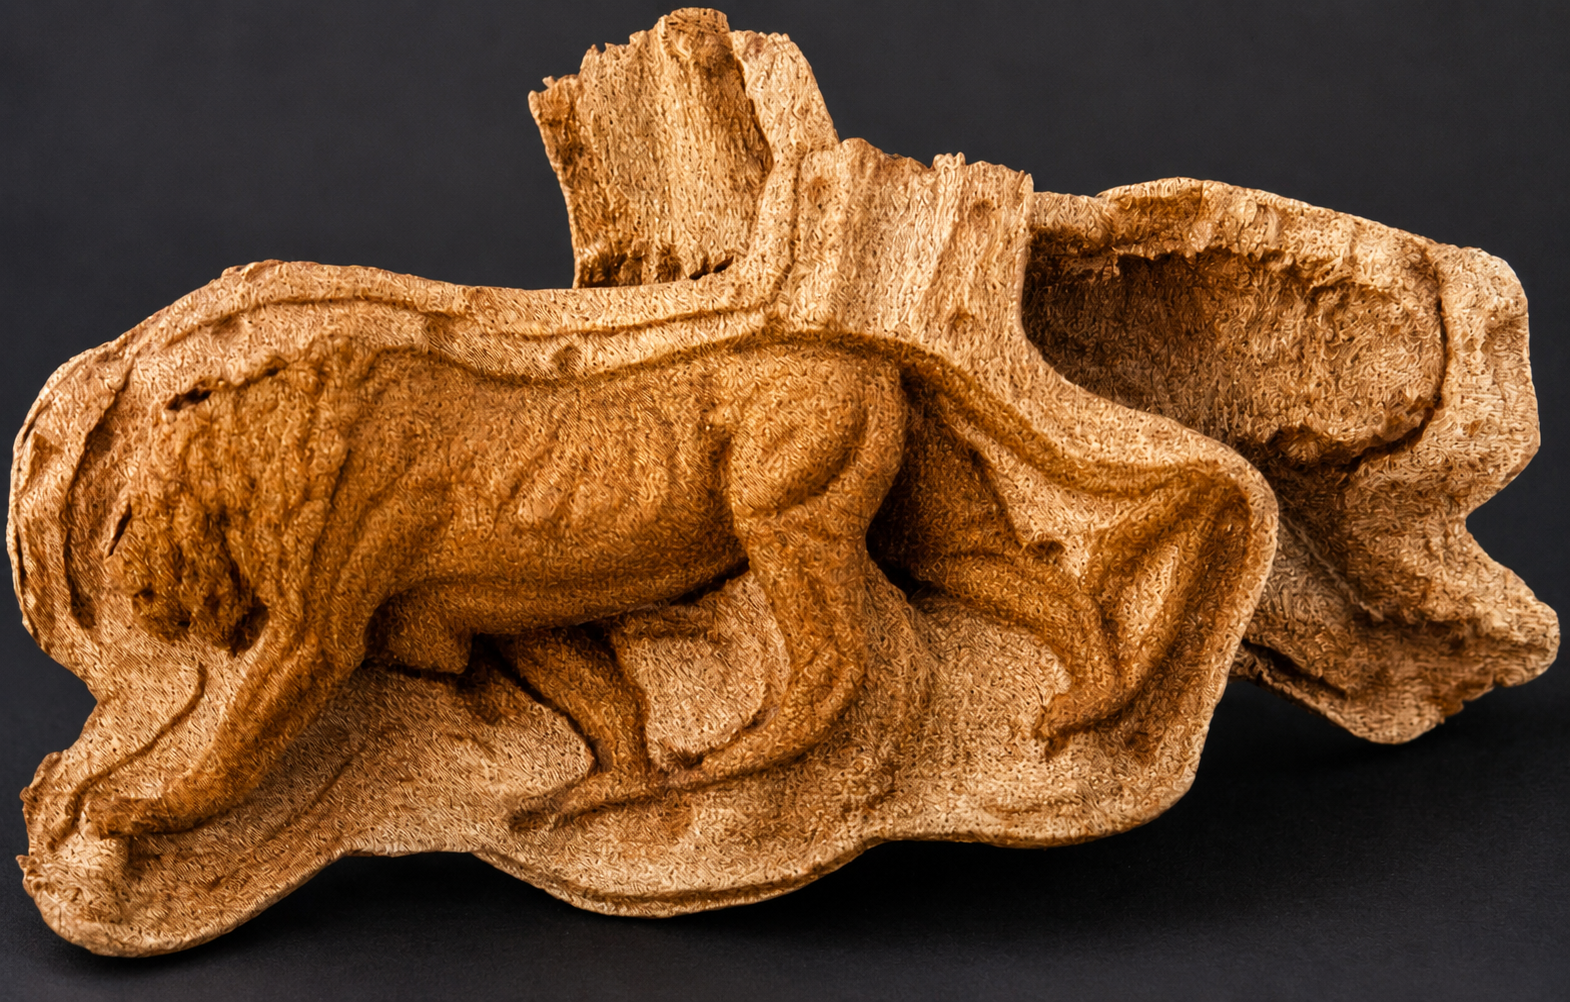
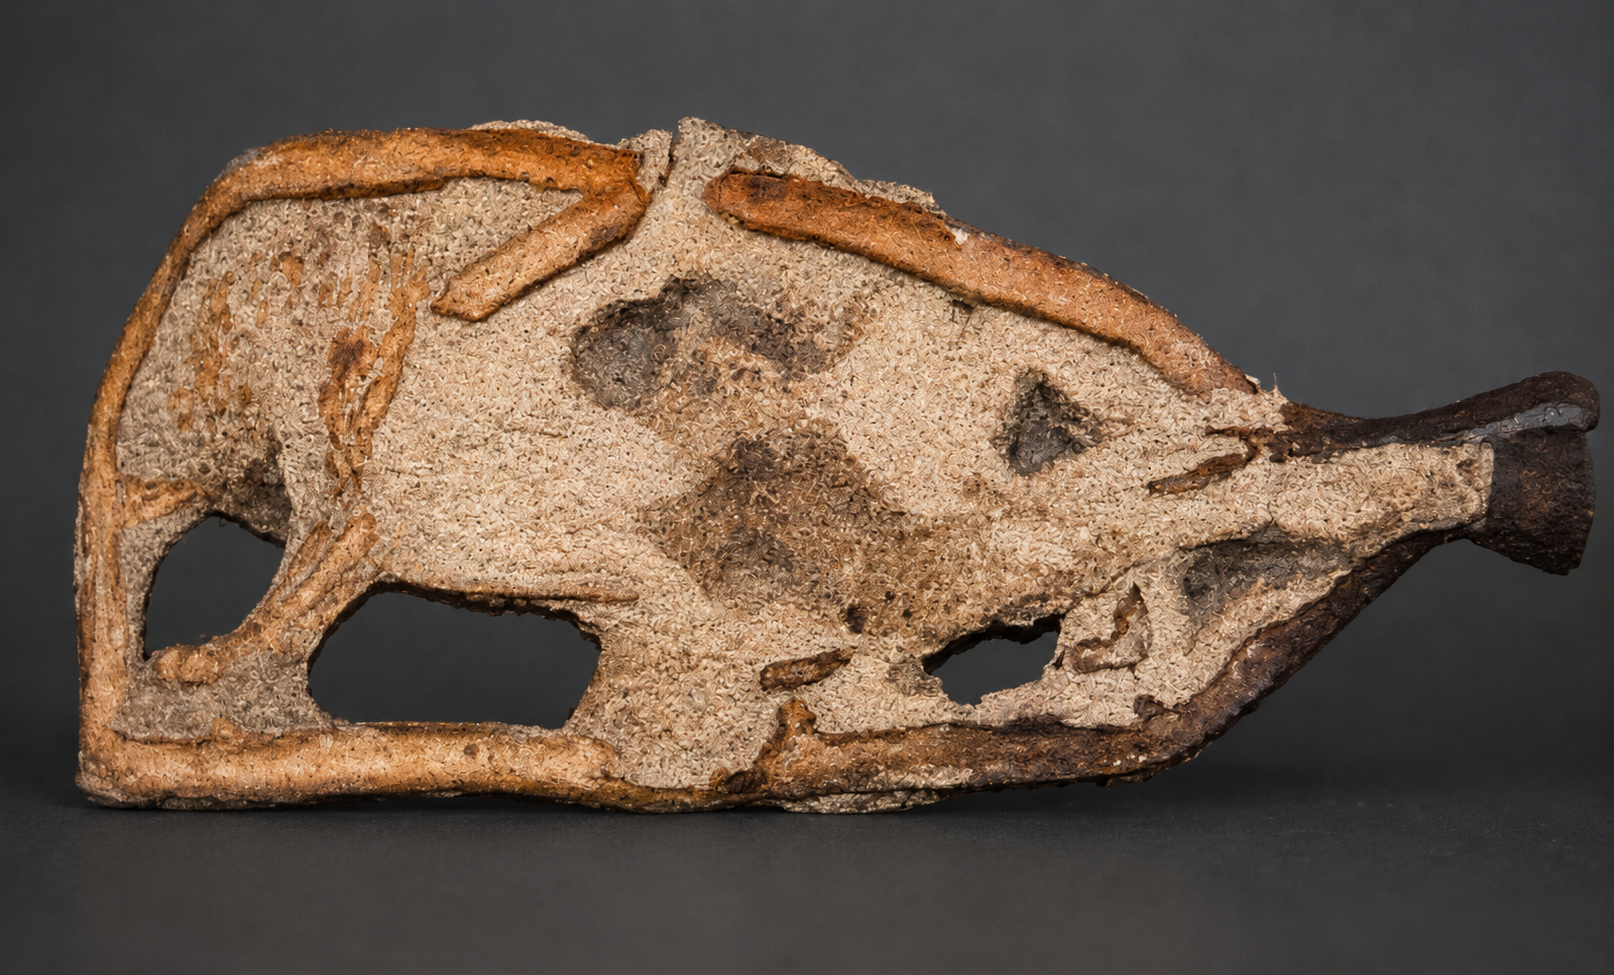
Empty Ceramic Shell
Once the wax is burned out, an empty ceramic shell remains — a void where the wax was. Hence the 'lost wax' technique.
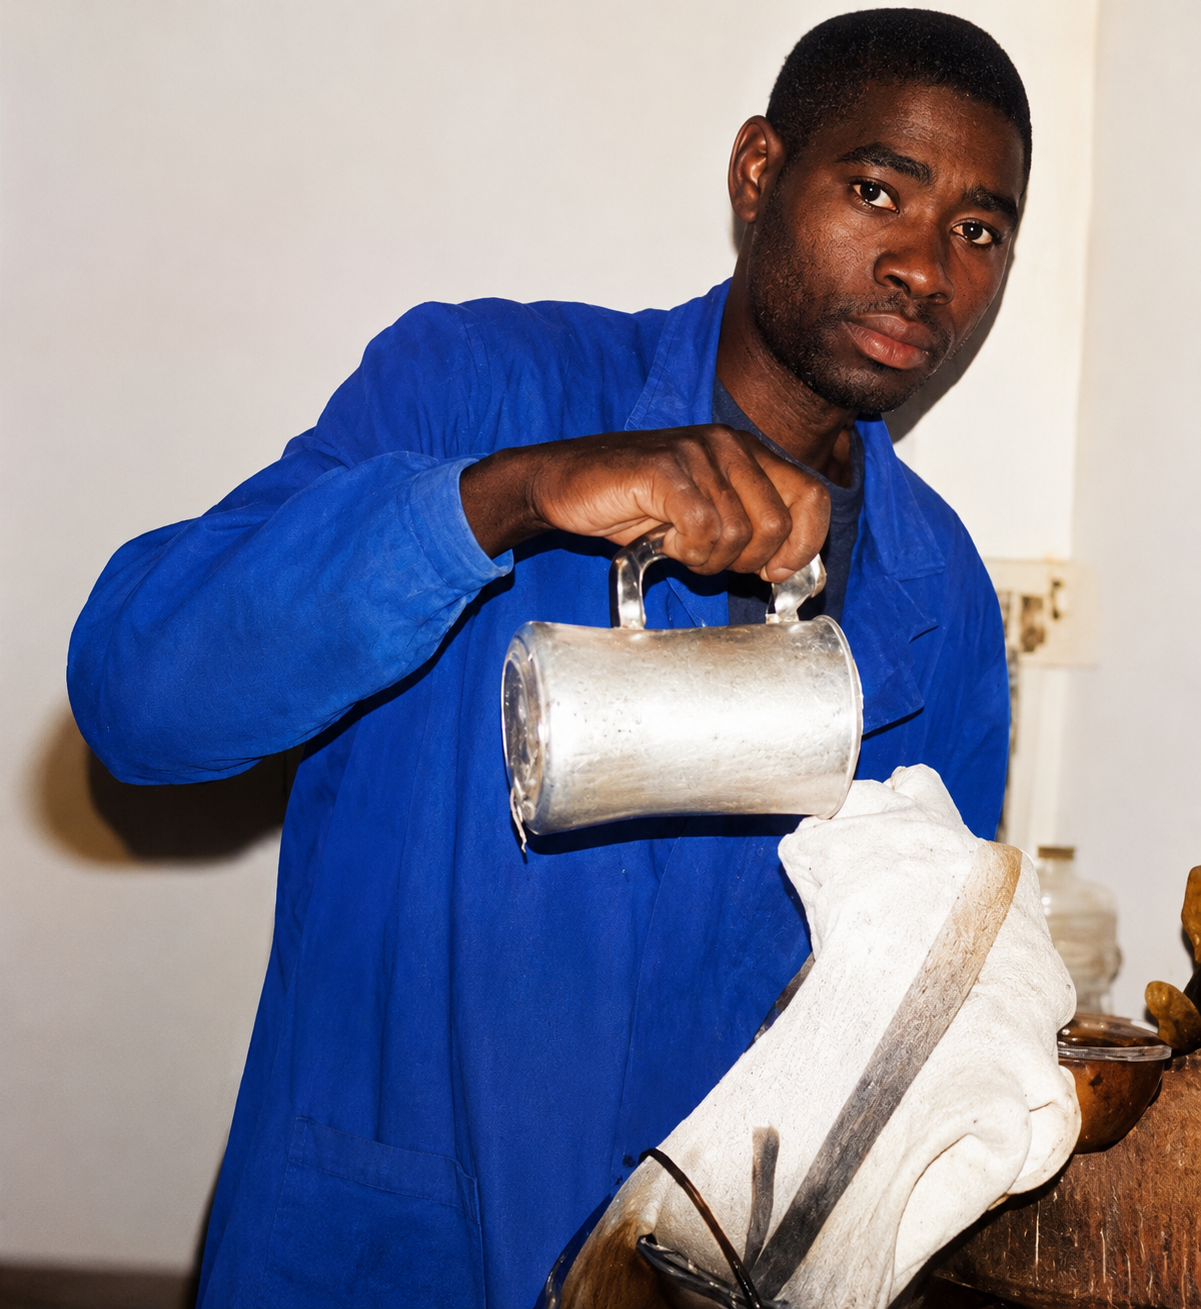
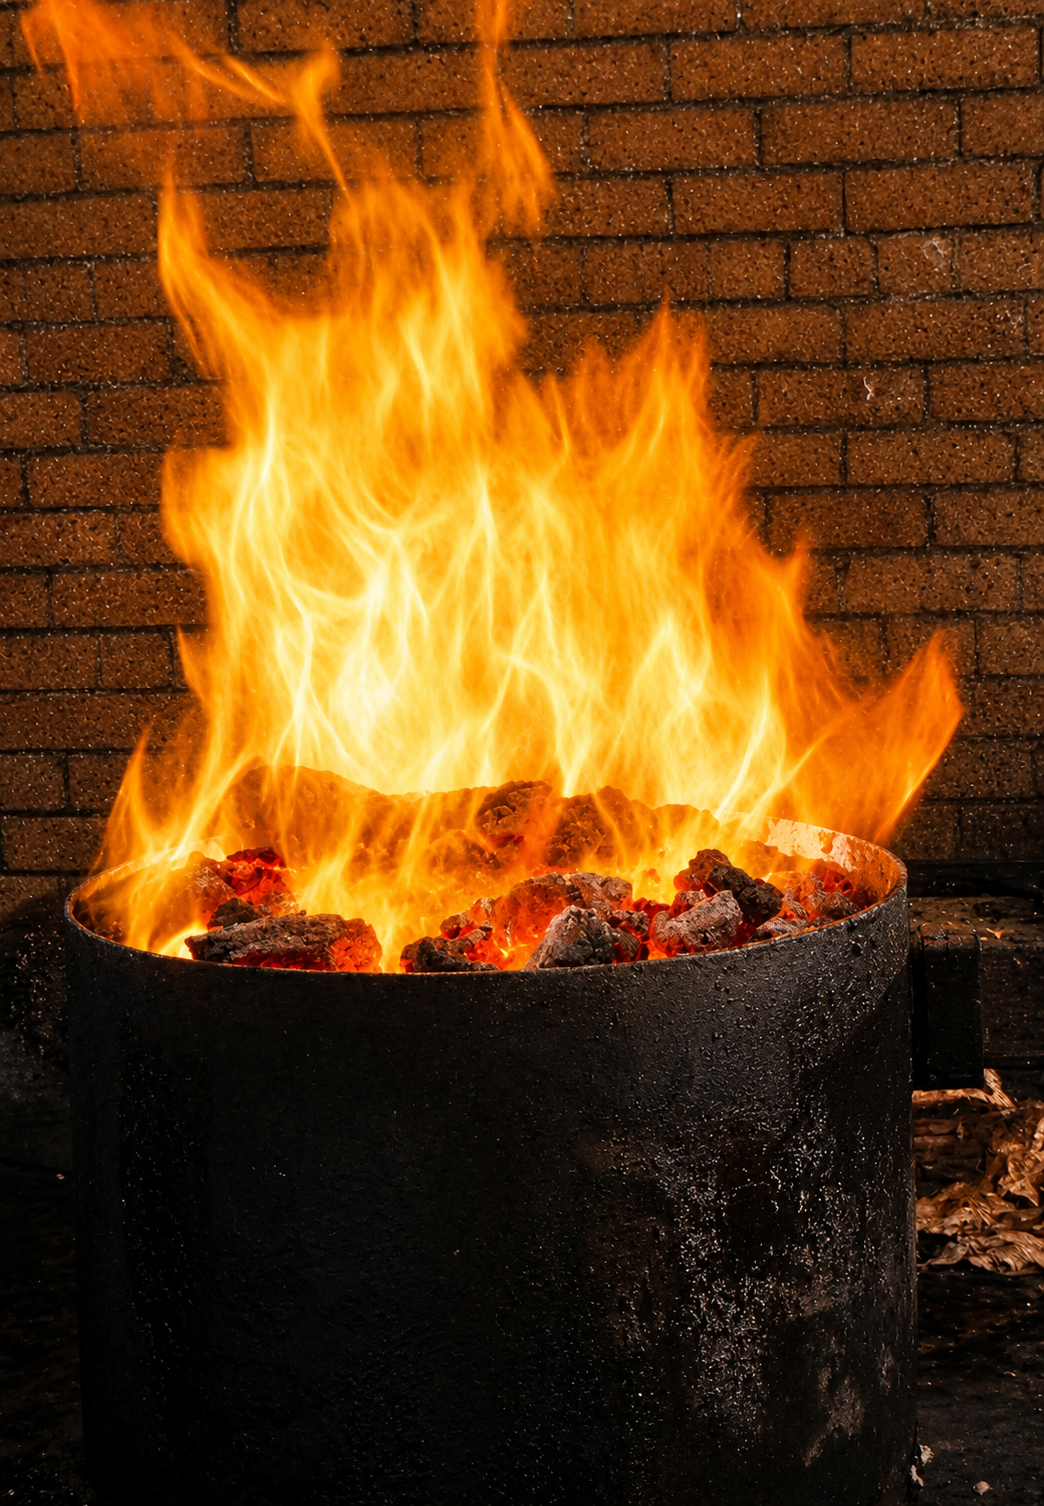
9Melting the Bronze
The bronze is melted in a crucible in a coke furnace. Gas, paraffin, diesel or induction furnaces can also be used.
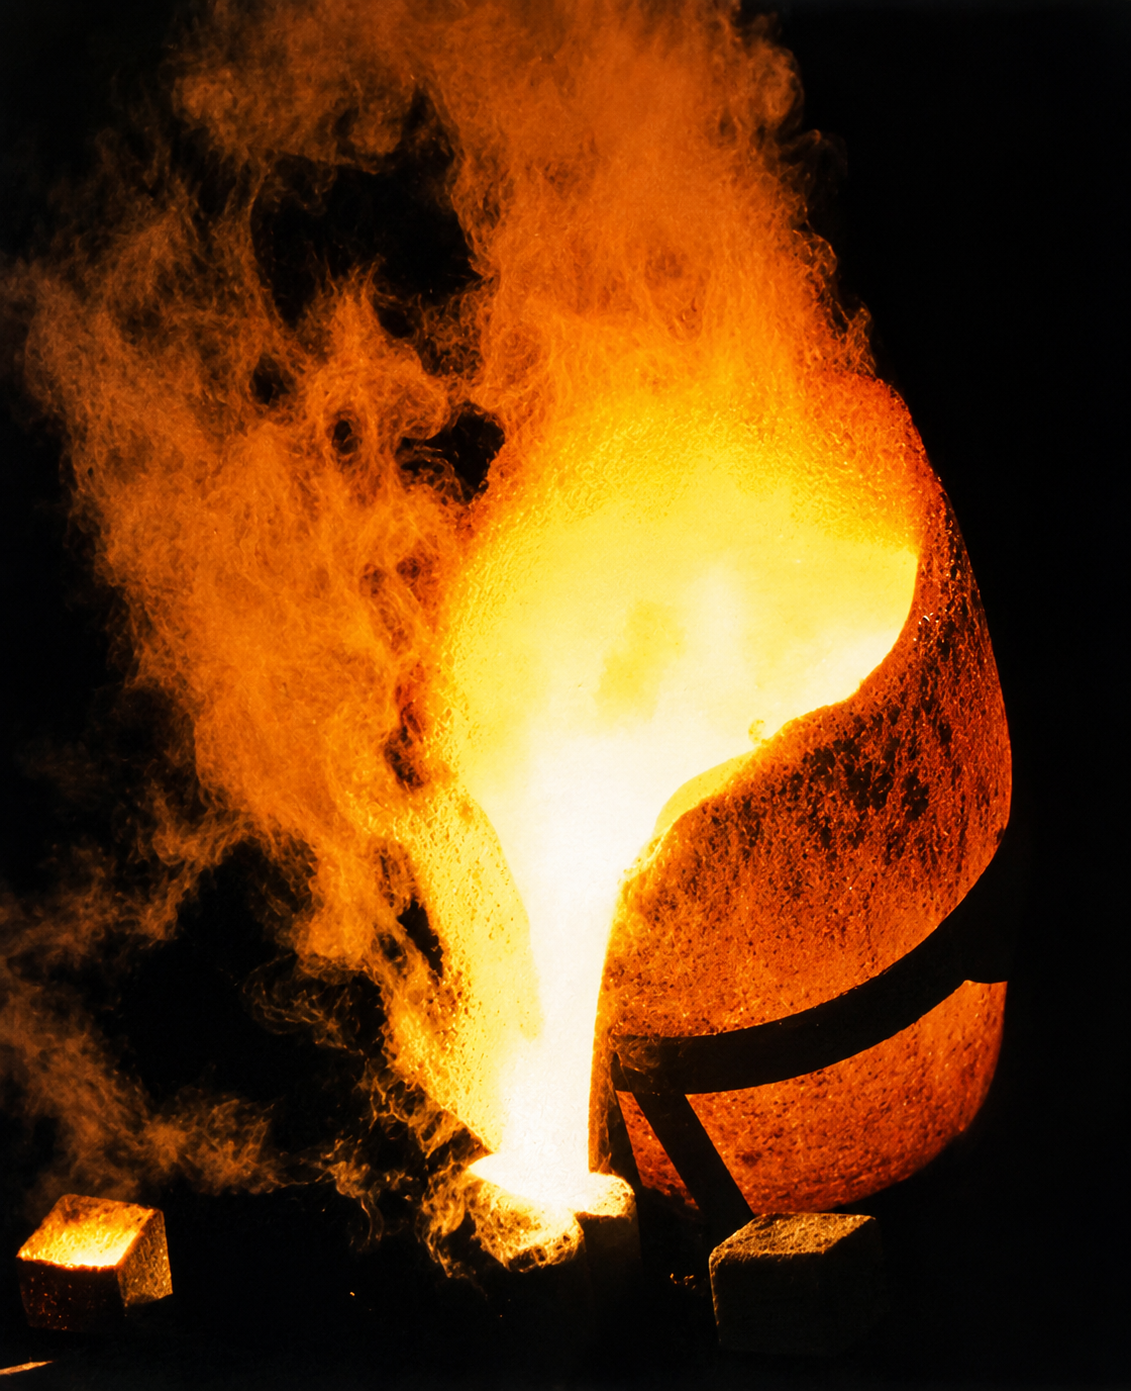
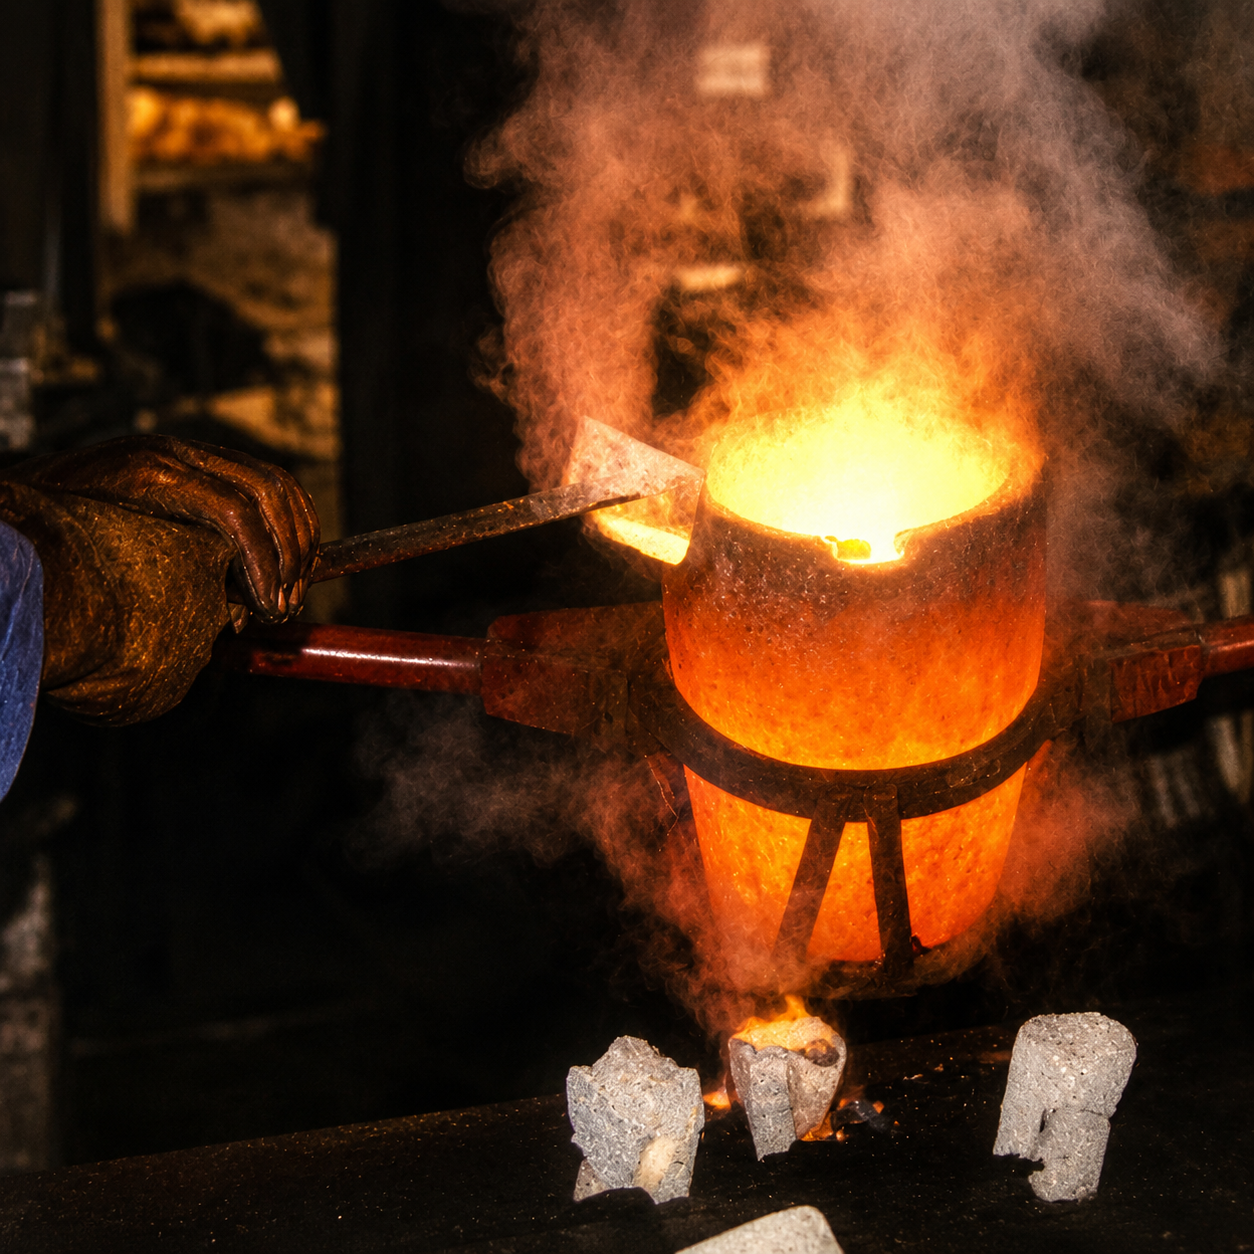 Step 10 · Pouring the Bronze · The molten bronze is poured into the ceramic shells embedded firmly in sand
Knocking Out
The ceramic mould is painstakingly removed with hammer and chisel — without marking the bronze.
Removing Sprues & Fettling
Sprues are removed with an angle grinder. Final touch-ups with air tools, wire brushes and sand blasting.
Welding
The clean bronze is welded to close holes. The side patch is replaced and the lion welded to the base. Further fettling on newly welded areas.
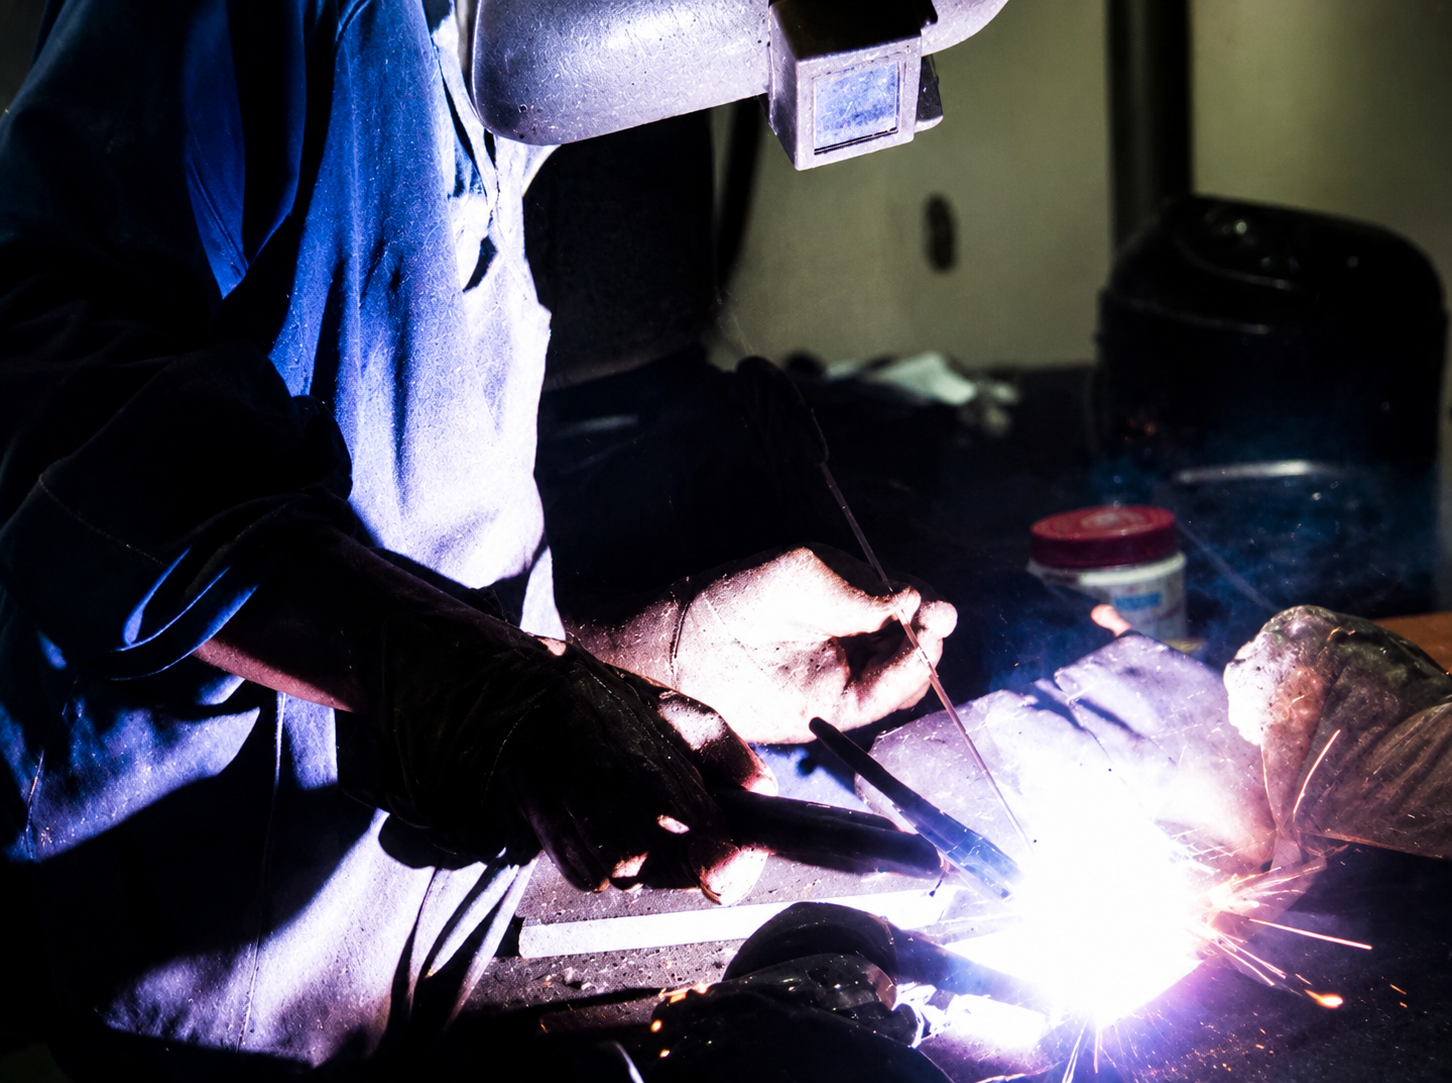 Step 13 · Welding
"Jan Sweeney sculpture is cast in hot bronze — virtually indestructible, a family heirloom to be passed down through the generations."
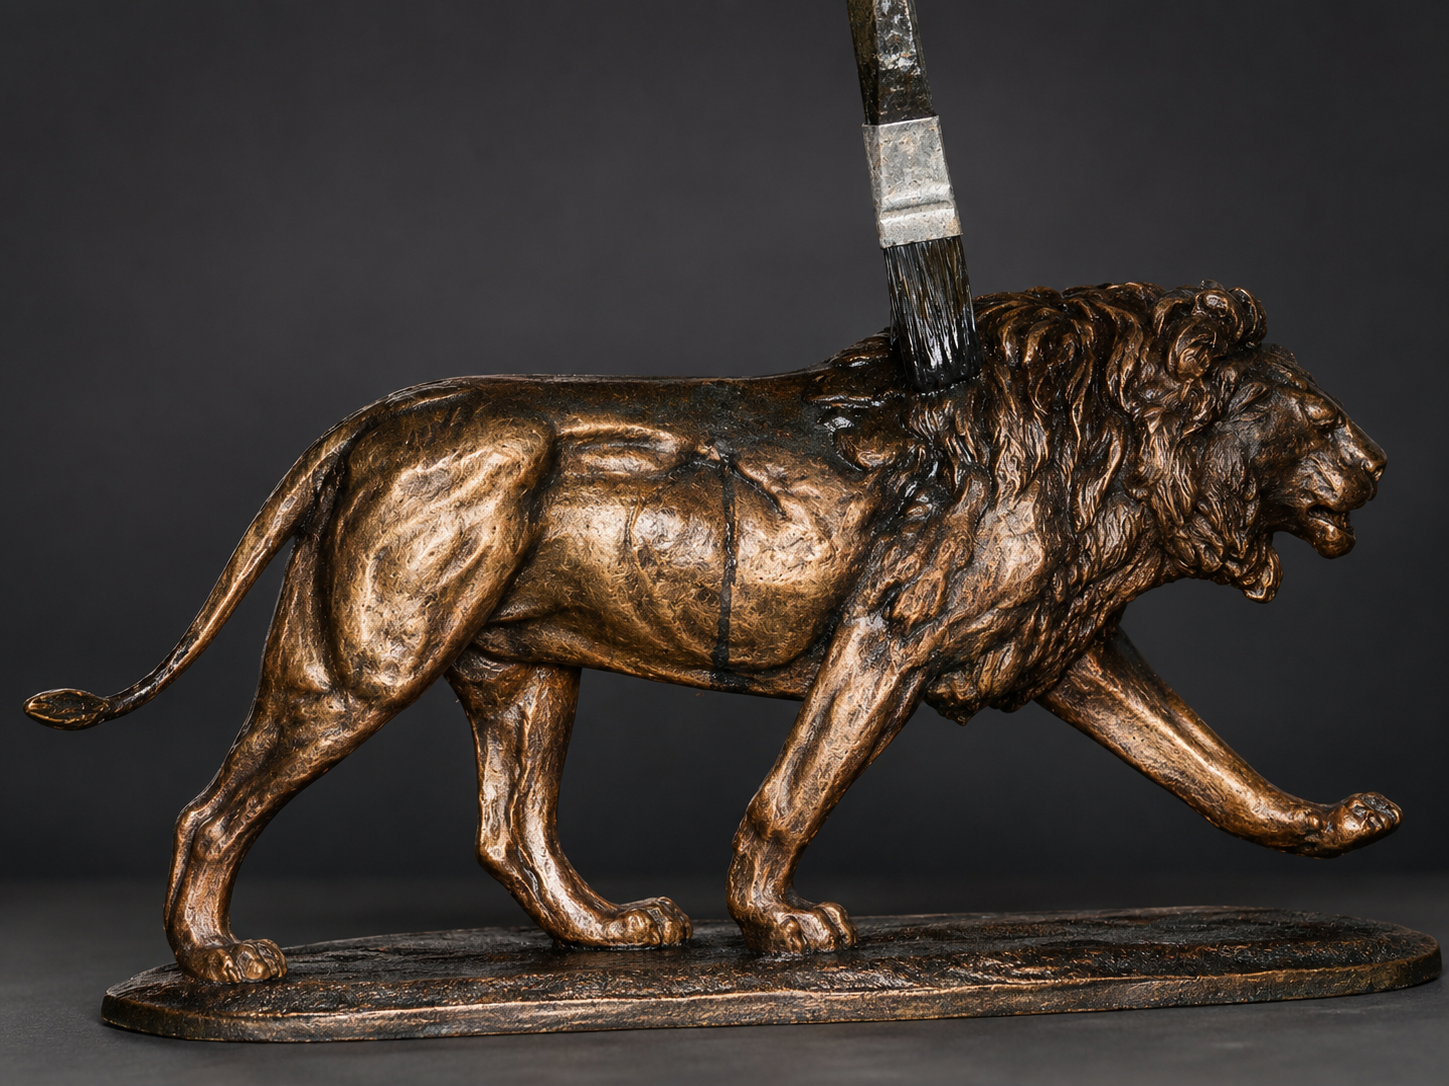
Patinating
The finished bronze is wire brushed and patinated with acid to give the desired colour.
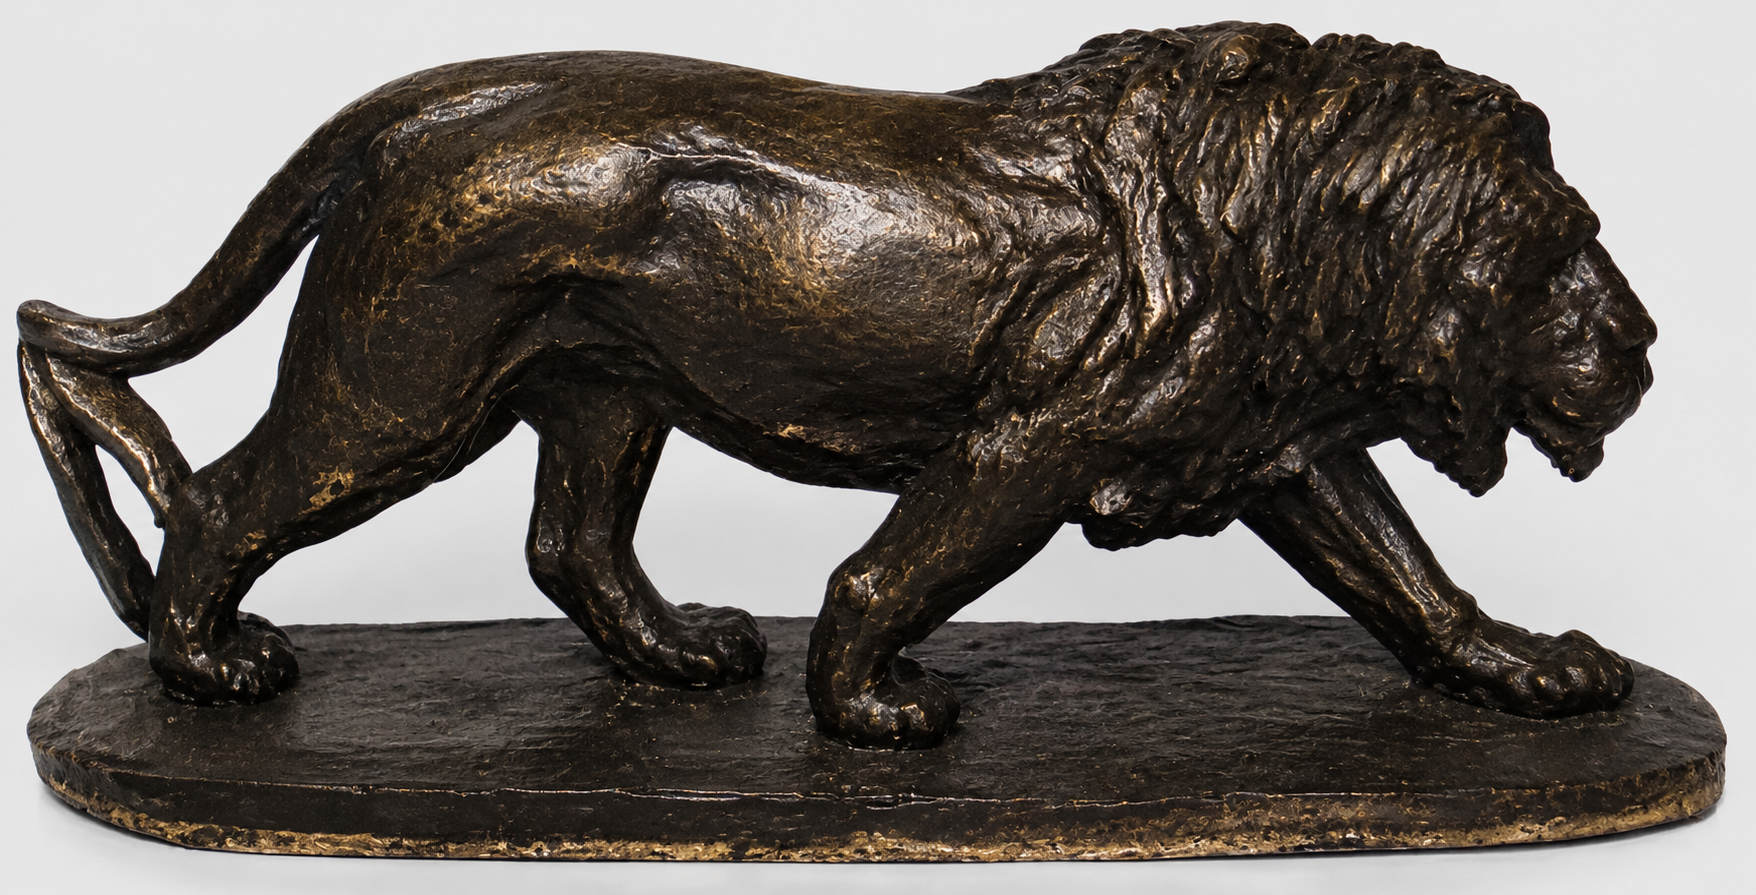
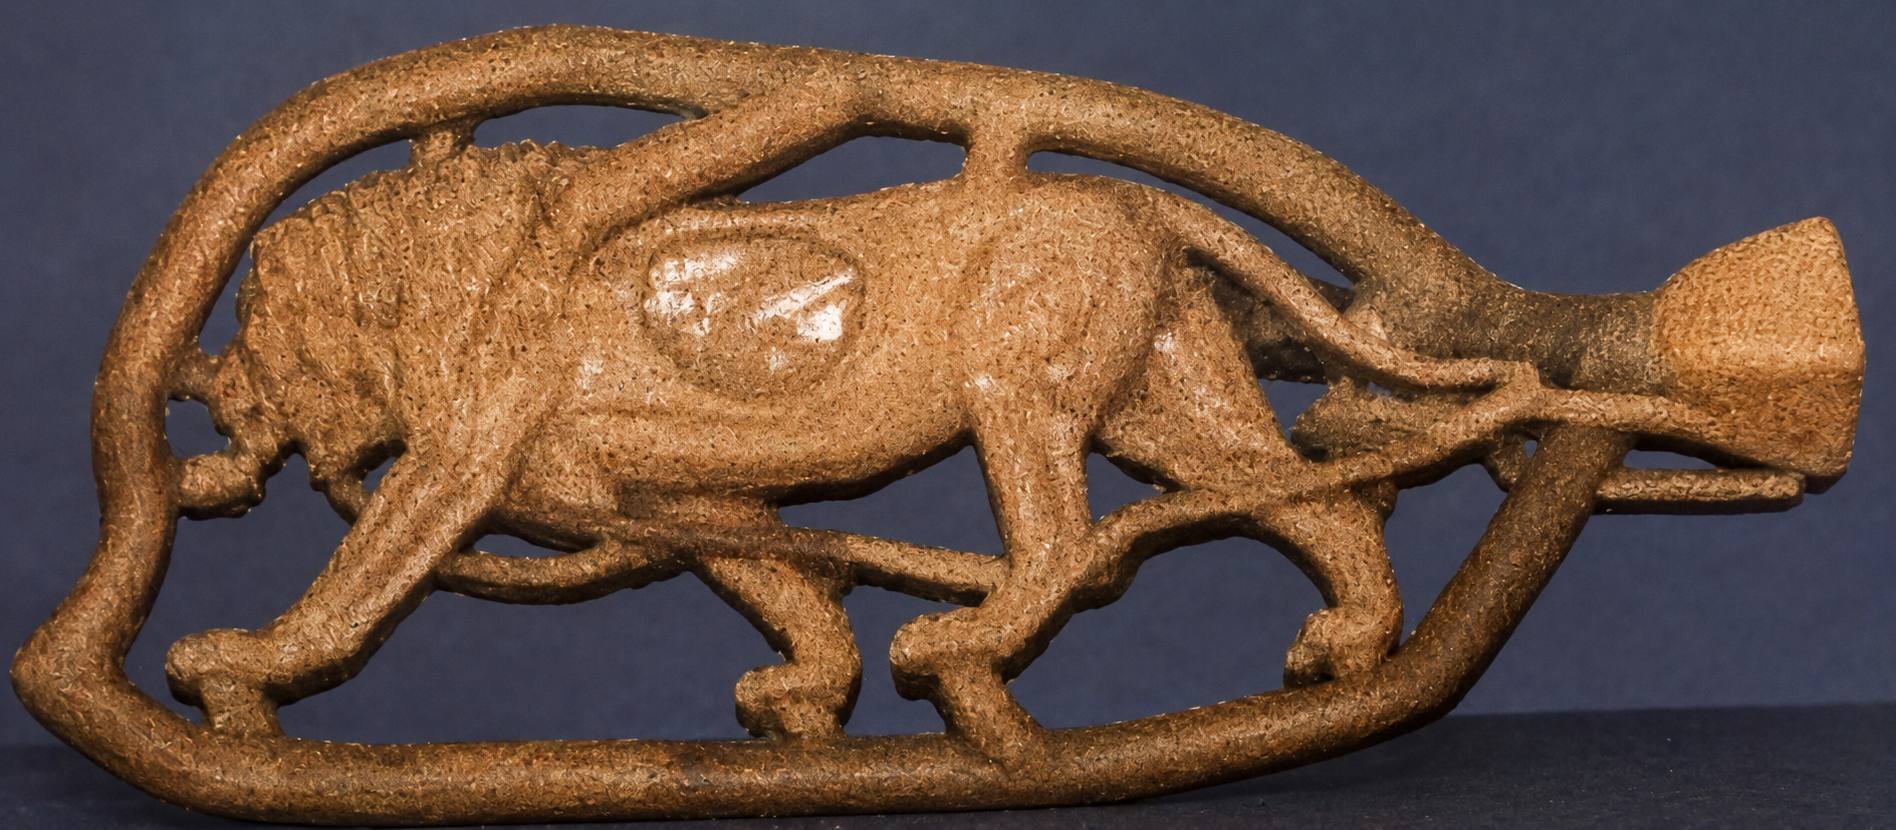
15The Finished Bronze
The bronze is polished, attached to a wooden base and named.
"MHONDORO"by Jan Sweeney.